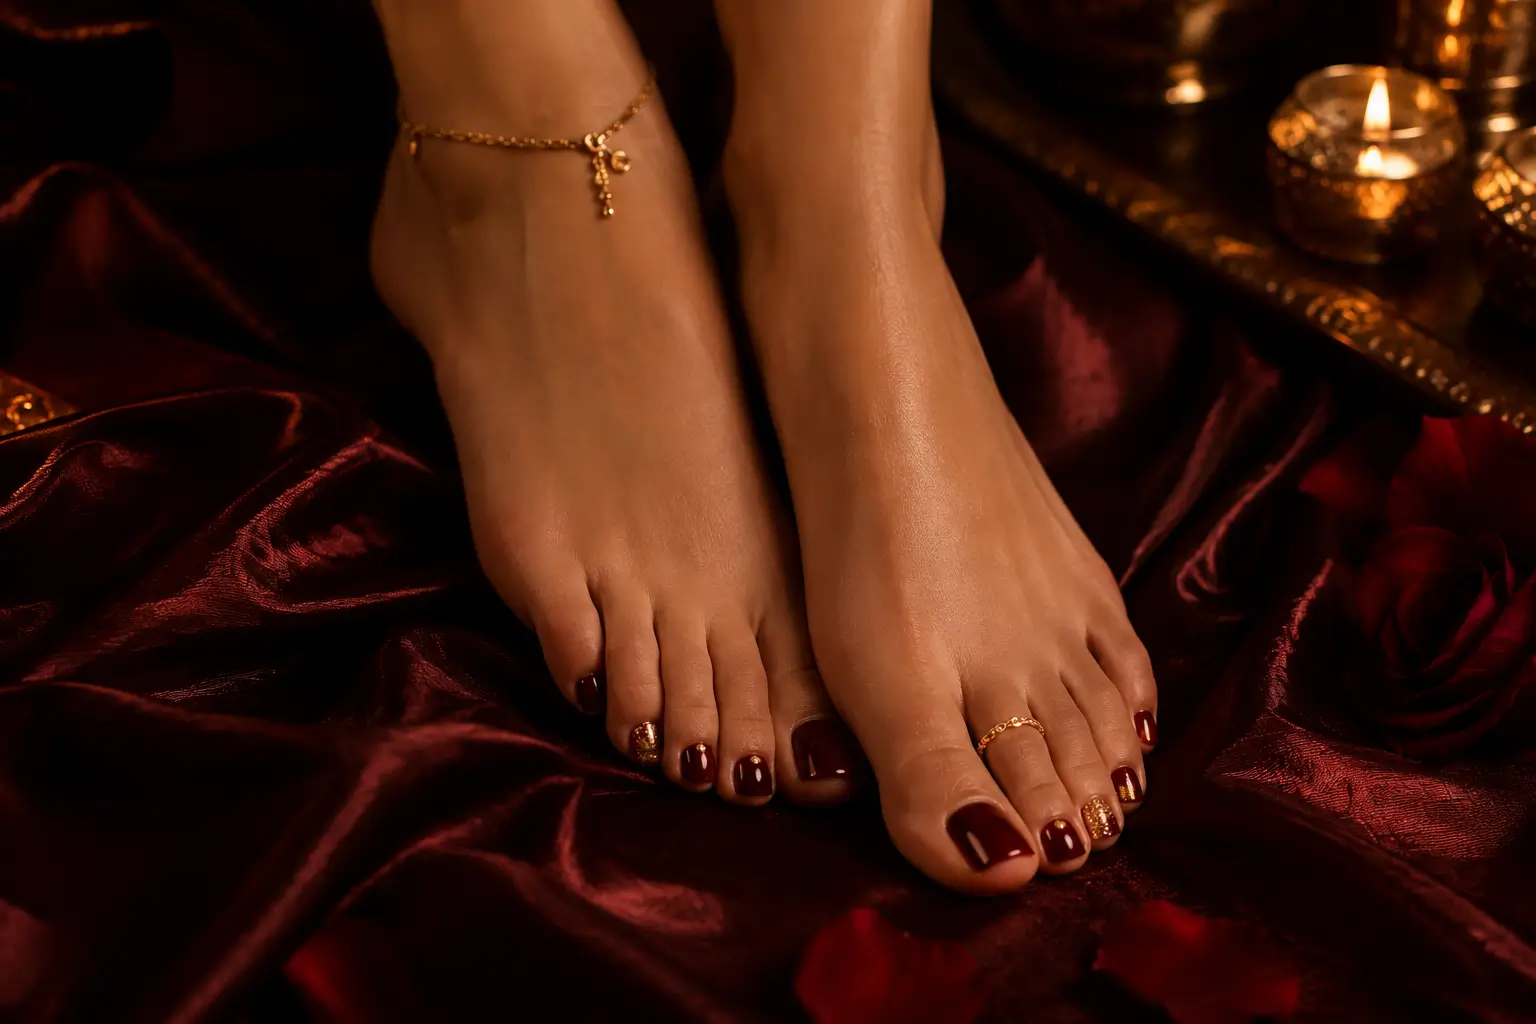
Good feet pics are less about expensive equipment and more about care, light and consistency. Most creators shoot on an ordinary smartphone. What sets the strongest profiles apart is that their photos look clean, well lit and intentional, and that buyers can see a clear, recognisable style across everything they upload.
This guide walks through a practical setup you can build at home: how to prepare, how to use natural and artificial light, which backgrounds and angles work, the phone settings worth changing, how to edit without overdoing it, and how to keep your identity out of every frame. If you are brand new, it may help to read how Feetify works first so you know where your photos will end up.
Preparation and Basic Foot Care Before You Shoot
Buyers notice detail, and a camera exaggerates it. A little preparation the day before a shoot makes more difference than any filter.
- Moisturise the night before, not right before shooting. Fresh lotion can leave a shine that looks greasy under light. Overnight, it soaks in and skin looks smooth and even.
- Keep nails neat. Trim and file them, gently push back cuticles and clean under the nail edges. Whether you prefer bare nails or polish, make sure any polish is fresh and unchipped.
- Soften dry patches gradually. A gentle foot file or pumice used over a few days smooths rough heels. Avoid anything harsh right before a shoot, because redness shows on camera.
- Let sock lines fade. Take off socks and tight shoes an hour or so before you start so any marks have time to disappear.
- Check the small things. Lint, stray hairs and dust on the floor or bedding all show up in close-ups.
None of this needs to be expensive. The goal is simply for your feet to look cared for, which is what most buyers expect from content they are paying for.
Getting the Lighting Right
Lighting is the single biggest factor in whether a photo looks professional or amateur. Soft, even light flatters skin texture and shows true colour, while hard, direct light creates harsh shadows and blown-out highlights.
Natural Light From a Window
Daylight from a window is free and usually the most flattering option. Position yourself so the window is beside you rather than directly behind or in front, which gives gentle shadows that add shape. Overcast days are ideal because the clouds act as a giant diffuser. On bright, sunny days, hang a thin white curtain or sheer fabric over the window to soften the light. Mid-morning and late afternoon tend to give the most even, warm results.
Soft Artificial Light
If you shoot in the evening or your home is dark, a simple ring light or LED panel works well. Set it to a medium brightness, angle it slightly from the side, and bounce it off a white wall or ceiling if it looks too harsh. Try to keep every light source the same colour temperature: mixing warm bulbs with cool daylight gives skin a patchy tone that is hard to correct later.
Lighting Mistakes to Avoid
- Relying only on overhead ceiling lights, which cast unflattering shadows.
- Using your phone's built-in flash, which flattens detail and creates glare.
- Shooting in direct midday sun, which causes harsh highlights and deep shadows.
- Mixing light sources, such as a yellow lamp next to a blue-toned window.
Backgrounds and Props That Keep the Focus on Your Feet
A busy background distracts the eye and, just as importantly, can reveal things about your home. Plain, neutral surfaces work best: a clean bedsheet, a soft blanket, a rug, a wooden floor or a light-coloured wall. Solid colours such as white, cream, grey or a single rich tone make skin stand out.
Props add variety and personality to your sets, as long as they support the photo rather than take it over. Ideas that work well include:
- Textured fabrics such as knitted throws, satin or linen.
- Seasonal touches, like autumn leaves, sand at the beach or a cosy blanket for a winter set.
- Simple accessories such as socks, slippers or shoes that suit the theme.
- Flowers or plants placed at the edge of the frame for a touch of colour.
Before every shoot, look at the whole frame and ask whether anything in it could identify you or your location. There is more on that in the privacy section below.
Angles and Composition That Look Professional
Variety keeps a profile interesting, but every angle should still look deliberate. Shoot far more photos than you need and choose the best ones later.
Classic Angles Worth Practising
- Top-down: shooting from above with feet flat on a surface. Simple, clean and easy to light evenly.
- Soles: feet raised or resting with the soles facing the camera. Keep the phone level with your feet for a natural look.
- Side profile: shows the arch and shape of the foot. Gently pointing the toes lengthens the line.
- Close-up details: toes, nails or an accessory in sharp focus with the background softly blurred.
- Lifestyle shots: feet in a relaxed everyday setting, such as crossed on a blanket or dipped in a pool, which tell a small story.
Framing and the Rule of Thirds
Turn on your camera's grid lines and use the rule of thirds: place the main point of interest along one of the lines rather than dead centre. Leave a little breathing space around your feet instead of cropping tightly at the toes. Keep floor lines and edges straight, and avoid cutting off part of a foot at an awkward point. If you struggle to hold the phone steady, a small tripod and the self-timer will give you sharper photos and free up both hands.
Phone Camera Settings and Light Editing
Camera Settings That Make a Difference
Modern phones handle a lot automatically, but a few adjustments help:
- Clean the lens. A smudged lens is the most common cause of hazy, soft photos.
- Use the main lens. Digital zoom reduces quality, so move closer instead of zooming in.
- Tap to focus and lock exposure. Tap on your feet, hold to lock focus, then slide the brightness down slightly if highlights look washed out.
- Turn off the flash and rely on window light or a soft lamp.
- Use HDR in tricky light to balance a bright window with darker areas, but check it does not make skin look unnatural.
- Try portrait mode for close-ups to soften the background, and check the edges of your toes have not been blurred by mistake.
- Shoot at the highest resolution your phone offers so you have room to crop later.
Edit Lightly and Keep It Natural
Editing should polish a good photo, not rescue a bad one. The free editor built into your phone is usually all you need. Focus on small, consistent adjustments: straighten and crop, nudge brightness and contrast, correct the white balance so skin looks natural rather than orange or blue, and lift the shadows a touch if needed.
Avoid heavy filters, aggressive skin smoothing and reshaping tools. Buyers generally want photos that look real, and over-edited images can appear plastic or misleading. A useful habit is to settle on one simple set of adjustments and apply it to every photo in a set, so your work has a consistent look that people start to recognise.
Building Consistent Sets Instead of One-Off Shots
A single nice photo is pleasant; a cohesive set is something a buyer can recognise and come back for. Plan each set around a simple theme, such as a colour, a location, a season or a type of footwear, and shoot several angles of that theme in one session while the light stays the same.
Consistency also applies to how often you upload. Profiles that add new content regularly look active and trustworthy. Our creator resources have more on building a profile buyers want to follow, and once your sets are ready, our guide on how to price feet pics explains how to package them as singles, sets or bundles.
Protecting Your Privacy in Every Photo
Great photos should never cost you your anonymity. Before uploading anything, check each image for details that could identify you:
- Your face, or a reflection of it in mirrors, windows, glasses, screens or other shiny surfaces.
- Distinctive tattoos, birthmarks, scars or jewellery that people who know you might recognise.
- Recognisable rooms, artwork, views from windows, post, packaging or anything showing your name or address.
- Other people, or anything that clearly belongs to someone else.
Photos also carry hidden metadata, which can include the date, the device used and sometimes the GPS location where the picture was taken. Turn off location tagging in your camera settings and remove metadata before uploading. Our privacy checklist for selling anonymously explains how to do this, and the safety page covers how Feetify protects creators.
Putting It All Together
A simple routine is enough to get started: prepare your feet the day before, set up near a window or soft light, choose a clean background, shoot a variety of angles, edit lightly and check every photo for identifying details before it goes live. After a few practice sessions your own style will start to emerge. When you are ready to share your work, you can create your free Feetify account, set your own prices and upload your first set.
Earnings are never guaranteed and vary by creator. Feetify is strictly 18+.